10 Techniques I learned in 2014

Hey All, Hope you had a happy new year! Today, I’ll be posting a quick list of new and/or improved techniques I learned in the year 2014. It’s been a huge year of growth in terms of my technique, what brushes I use for different tasks, and what products work best with my skin. With that said, here’s my list:

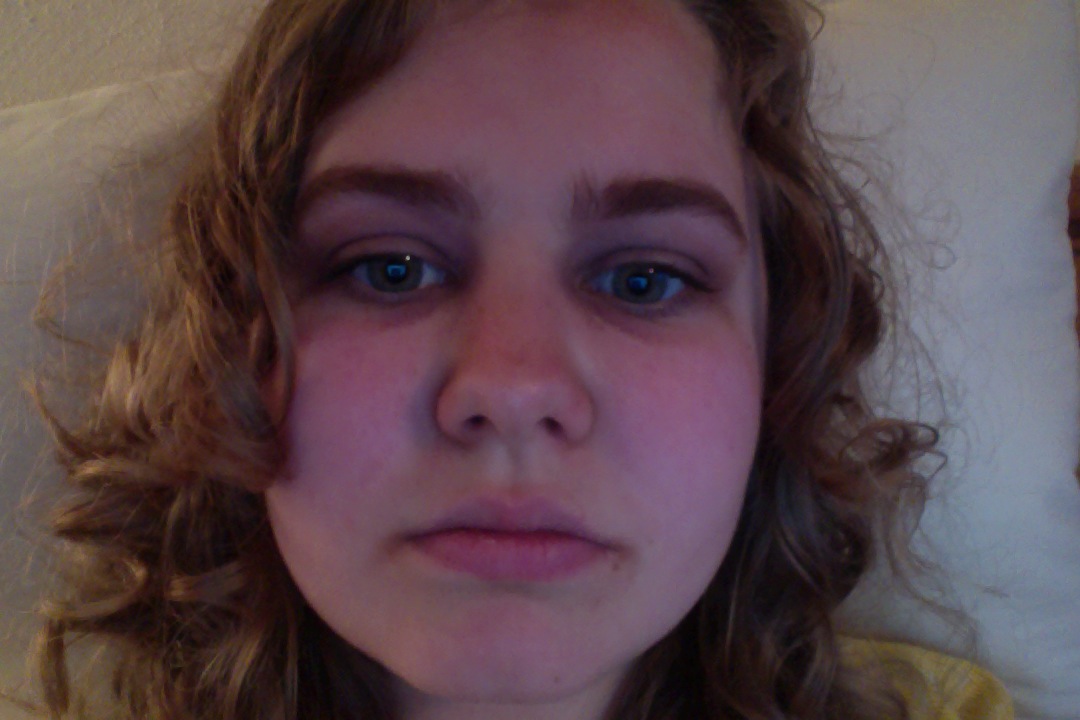
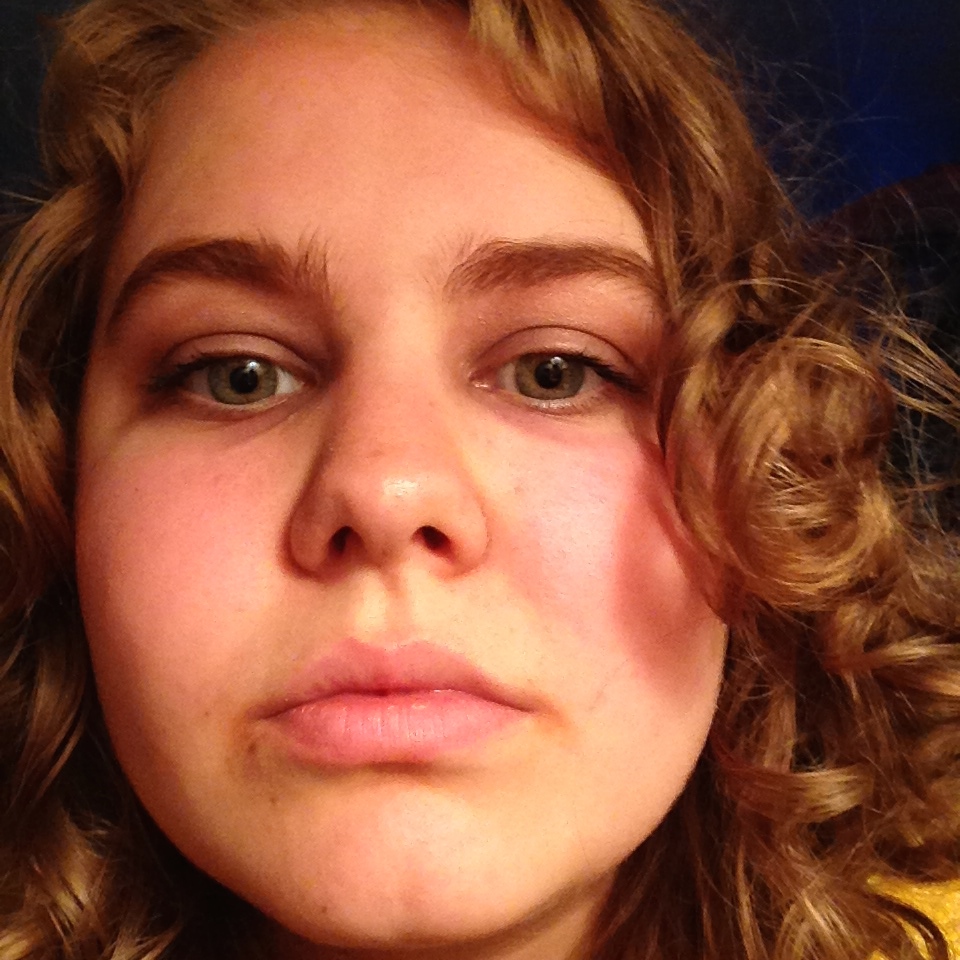
1. contouring and highlighting: This was the year I learned to sculpt and chisel my face into something less oval and round and a bit more angled.

2. blush application: I improved upon my blush application in terms of more blending and the idea that blush can also be used to shape the face in and of itself.

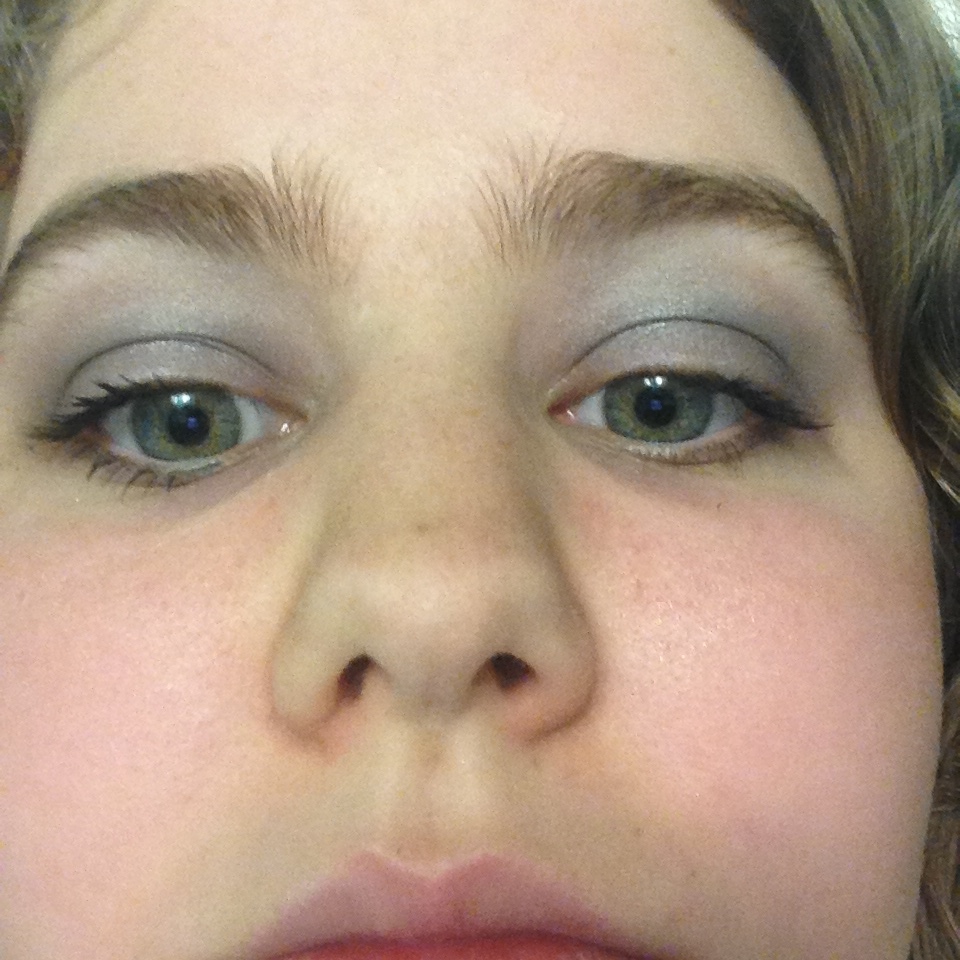
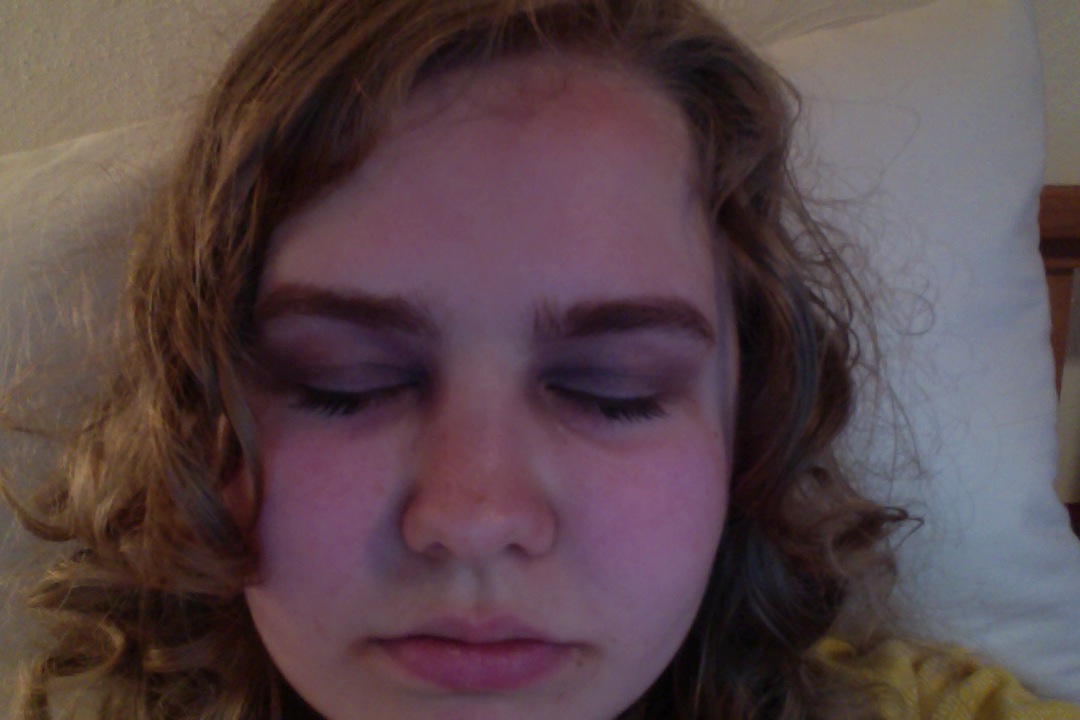
3.blending eyeshadow: I can now blend eyeshadow into a perfectly cohesive look that is much more polished.

4. defining the crease: I’ve learned to define my crease which creates a lot more depth when using a darker shade, preferably a matte brown.

5. using eyeshadow as eyeliner: I’ve learned to create a smokey eye without emphasizing my under circles.

6. brows: I’ve learned how to fill in my brows with brow powder and an angled brush, and even use a spoolie occasionally. I have naturally intense brows, and I just like to add some extra emphasis for a more bold yet still natural look.

7. beauty blender: I’ve learned to use my beauty blender knockoff from quo ($5) to create a an airbrushed look for concealer and foundation. Though I have foundation I generally just use powder now, it is a good skill to have.

8. packing on eyeshadow: I’ve learned to pack on shadow which means I waste less product and can create a bolder look.

9. lipstick application: I’ve learned to apply lipstick in a near perfect fashion, and have learned less is more, and you don’t need to use it bold over the entire lips.

10. powder application: I’ve learned to apply powder to targeted areas where they are needed and that a light dusting is all I need.

There you have it, my 10 techniques I learned in 2014. Hope you enjoyed this list, and please comment below a new technique you learned in the past year.


Makeup for cold nights and hot drinks

Hey Everyone, Long time, no type. So I’ve been thinking about what to blog about next, and figured since it’s been quite cold lately, even some snow, which is rare where I live, some winter/holiday makeup suggestions are in order.

Don’t you love the lipstick print of a bold lip on your mug while you wrap yourself in a leopard print snuggie whilst marathoning through revenge. Well, at least that’s me lol. Point being the holidays and winter in general are the perfect time to break out the bright red and berry lipsticks that can sometimes feel too intimidating most of the time. I mean, wear whatever you like whenever. That’s what I do. But there’s something special about that ultra matte ruby woo lipstick form mac. Or whatever your go to bright bold lipstick is. I recommend wearing a decent lip balm, as the cold weather tends to reek havoc on even the smoothest of lips.

Eyeshadow wise, I’ve recently gotten into golds, greens, burgundies,silvers, and blues. Gold eyeshadow is surprising flattering on most people, and just seems sort of fancy. An excellent glammed up neutral palettes is from Illamasqua called the neutral palette. It contains a matte brown, shimmery gold, mostly matte black, and a matte off white. It is rather glamorous due to the gold, and matte browns are a definite staple for adding definition to the crease. Silver and gold can take any look from day to night in mere strokes of your fave eyeshadow brush.

I love contouring, and think it’s a great way to add definition to one’s face, while also highlighting your gorgeous cheeks. I love shimmery champagne highlighters like the balm’s mary lou manizer. Rose gold highlighters look gorgeous on many.

Blush wise, I love a dolly look, so right on the apples of the cheeks. Something really bold like the bright fuschia pink of giorgio armani’s cheek fabric in 509. I’m told it’s a dupe for tom ford’s narcissist which was limited edition. The kind of flushed look like you just were outside is what we’re going for.

For nails, a bright shade is best. Or glitter. Glitter is always good. Golds and reds are classic. However, a barney purple like revlon colorstay gel envy in up the ante is rather daring.

So there you have it. My holiday makeup suggestions. This post was a bit all over the place but so are the holidays.  Let me know your fave holiday bold lip in the comments.

Have a good one 🙂

The Best Gel Nail Polish… Ever?

2nd day wearing revlon colorstay gel envy nail polish in up the ante

2nd day wearing revlon colorstay gel envy nail polish in up the ante

day 5 of wearing revlon colorstay gel envy nail polish

day 5 of wearing revlon colorstay gel envy nail polish

From left to right: revlon up the ante, revlon winning streak, revlon wild card, maybelline lust for lilac

From left to right: revlon up the ante, revlon winning streak, revlon wild card, maybelline lust for lilac

From left to right: revlon up the ante, revlon winning streak, revlon wild card, maybelline lust for lilac

From left to right: revlon up the ante, revlon winning streak, revlon wild card, maybelline lust for lilac

IMG_5464

IMG_5465

IMG_5466

Hey Everyone, I’m back today with an awesome new nail polish formula.

So I bought this new nail polish recently, and I just had to tell you about it. The polish in question is the revlon colour stay gel envy nail polish. It is a made for personal use nail polish with a gel finish, that is, for all intensive purposes, an all in one base, colour and top coat in one slick formula. It is highly pigmented and glossy. It takes about two sheer to medium coats (the kind where you scrape a fare bit of excess product off) to get opaque coverage. The brush is rather wide and thick. It comes in a sleek bottle, very classic, but something that also looks nice on the vanity or bathroom counter. There is also a diamond top coat from the line, which I may pick up at some point, but for now, it’s really not necessary. It lasts about 5-6 days for needing at least a touch up if not removal, depending on how nice you want your nails to look. It is extremely chip and indentation and air bubble resistant, as only a small amount of those issues happened, and it wasn’t very noticeable. The nail polish removes much easier than non gel formulas. I literally used one cotton ball with one upside down suctioned amount of nail polish remover, and it was 2-3 to three swipes on each nail, and it was like it had never been there. So impressive! There are a variety of colours, though many of the nudes fall short in my opinion, as a lot of them are off whites, creams, when taupes and chocolate browns are nowhere to be seen. However, the dark, vampy, bold and colourful shades are in abundance.  There are glitter,cream, and shimmer textures in the line. Something else interesting about the line is the fact that all of the names are related to risk based games such as poker. This is my favourite new nail polish. The only other one I’m really enamoured with is maybelline colour show, and revlon’s gel envy blows it right out of the water. I bought my three nail polishes from the line at London Drugs, where the regular price is $7.99(not bad for a gel polish), plus there was a 2 dollar off coupon, so it was quite a steal. Target, at it’s regular price, sells them for $7.09. Those are the cheapest prices I’ve seen, so if you’re interested in trying out the formula, I suggest shopping around. The colour I use in the photos is up the ante a cool toned barney the dinosaur purple similar to the likes of mac’s up the amp and revlon’s berry haute lipsticks,respectively.  I am planning to test the other two I bought in the recent future. One of those is winning streak, a subdued pastel lavender with a hint of lilac in the cream formula, that is comparable to the considerably more lilac based pink pastel polish from maybelline colour show in lust for lilac. The other is wild card, a a beautiful bright cool toned blue in the cream formula.Revlon gel envy comes with my highest recommendation, and if you’re a nail polish person, I think you’ll love them!

Have a good one 🙂

Let me know in the comments if you plan to try any out, or if you have any recommendations from this or another nail polish line.

Some of my links:

facebook: https://www.facebook.com/beyondbeautyblogger?ref=bookmarks

bloglovin: http://www.bloglovin.com/bronwynharrison

Anastasia Contour Kit Review

Anastasia Beverly Hills Contour Kit

Anastasia Beverly Hills Contour Kit

Anastasia Beverly Hills Contour Kit

Anastasia Beverly Hills Contour Kit

vanilla,banana,sand, java,fawn,havana

vanilla,banana,sand, java,fawn,havana


Hey Everyone,

Sorry it’s been so long since my last post. There’s just been a lot going on. Anywho, I’m back, and that’s what’s important. So today I will be talking about an amazing contour palette from Anastasia. Hope you enjoy, and let me know about your fave contour kits/palettes/products in the comments.

So when the Anastasia contour kit was back in stock at my local sephora, I knew I had to pick it up before they sold out. It was initially a limited edition product, but it is now possible to buy refill pans on Anastasia’s website in a greater variety of shades. As the in store option only comes in one set of shades. Onto the specifics of the palette.

The Packaging:

It is a cardboard palette containing 6 removable powder pans, hence the refills available online.  The shades are called sand, vanilla, banana, java, fawn, and havana. It is a bit delicate and thus needs to be handled gently. It has a good weight to it, and it sort of snaps closed, and possibly has a magnetized closure.

The Product:

There are 3 contouring shades, 2 highlighting shades, and a setting powder. Of the contour shades, 2 are matte and one has a small amount of sparkle. One of the matte contour shades, java, is a warm  toned brown,and the other,fawn, is a cool toned brown. The sparkle contour shade,havana, is darker and warm toned. Of the two highlighters, vanilla is an off white matte shade, and sand is a shimmery champagne shade. The setting powder,banana, is a yellow brightening powder, that is best used for setting under eye concealer. Some have compared it to the ben nye banana powder.

The Performance:

These shades are buttery smooth, with no fallout. When I swatched them at the store, I was so impressed. This is an extremely versatile palette. I use fawn most of the time for a subtle contour. Lately, I’ve been using java for a more defined contour. I sometimes use havana as a blush. I like the highlighters, as they are buildable,and barely emphasize pores. I use banana to set my concealer. For contouring, I use the sonia kashuk angled multipurpose brush or the elf angled blush brush. For highlighting and setting powder, I use the real techniques setting brush. I also find that one only needs to gently tap the powders to get enough product for most of the job. I find it only takes a couple minutes for me to use this kit, so it is a good before school or work palette.

Overview:

This palette is perfect for the person who wants all in one multitasker, with high quality, buttery soft powders. It is great, no matter what your level of contouring experience is. I highly recommend it, and consider it a good investment sicne it is so versatile. The one thing that would improve this palette is if it was made of plastic or metal, and contained a mirror. It is a delicate item.

Let me know if you want a tutorial using this kit.

Hope everyone is having a good day 🙂

Please like, subscribe, comment, and share 🙂

Some of my social media links:

instagram http://instagram.com/bronwynharrison

bloglovin http://www.bloglovin.com/bronwynharrison

facebook https://www.facebook.com/beyondbeautyblogger

youtube https://www.youtube.com/channel/UCdgeVvuuQbGgTc4-VuZ8Reg

Any opinions of mine are my own. They are not influenced by any company, advertiser, or affiliate. If I am given a product to review, or am paid for affiliate links, those will be clearly marked.

Classic Smokey Eye Tutorial

IMG_4647 IMG_4644 IMG_4645 IMG_4646

I was off camping last week, so I haven’t blogged in a bit, but I’m back! Today, I will be doing a class smokey eye tutorial using the Covergirl eyeenhancers palette in smoke alarm, the Maybelline New York expertwear eye shadow palette in velvet crush, and the Maybelline New York eyestudio gel eyeliner in blackest black, and L’oreal Paris telescopic shocking extensions mascara in blackest black. This is a very bold smokey eye, but it can be toned down with more blending, and/or using one of the palettes instead of two.

Step 1:
I apply the third shade (they are not numbered) of the Covergirl palette all over my eyelids with a shader brush. I then blend it in using the same brush.

Step 2:
I apply the first shade of the Covergirl palette in my crease with a sweeping motion, using my blender brush, and blend it in with the same brush.

Step 3:
I apply the second shade from the Covergirl palette,on the brow bone, using a shader brush. I blend it in using a blending brush in a sweeping motion.

Step 4:
I apply shade 2 of the Maybelline palette, all over the lid, but put a more concentrated amount in the middle of my eyelids, for a more bold look,using a shader brush blending in as I go.

Step 5:
I repeat step 4 using shade 1 of the Maybelline palette.

Step 5:
I apply shade 4 of the Maybelline palette in the crease using a blending brush in a sweeping motion, blending as I go.

Step 6:
I apply shade 3 of the Maybelline palette on the brow bone using the blending brush, blending as I go.

Step 7:
I apply Maybelline gel eye liner to my lower lash line carefully, using a fine liner brush.

Step 8:
I apply L’oreal Paris mascara to my top and bottom lashes.

Thanks so much for reading, I really appreciate it 🙂

Please like, subscribe,comment, and share 🙂

youtube: https://www.youtube.com/channel/UCdgeVvuuQbGgTc4-VuZ8Reg
bloglovin: http://www.bloglovin.com/bronwynharrison
facebook: https://www.facebook.com/beyondbeautyblogger?ref_type=bookmark
instagram: http://instagram.com/bronwynharrison

Any opinions of mine are my own. They are not influenced by any company, advertiser, or affiliate. If I am given a product to review, or am paid for affiliate links, those will be clearly marked.

Eyeshadow tutorial featuring UD naked 3 palette

Photo on 2014-07-10 at 7.34 PM #2Photo on 2014-07-10 at 7.34 PM #3IMG_4433

Today, I will be doing an eyeshadow tutorial featuring my UD naked 3 palette. I will be suing the eyeshadows strange, dust, burnout, limit, buzz, trick, and nooner. This is my perfect everyday look, though it is versatile in that it works well for parties. The brushes you use may vary from the ones I choose to use. This may seem like a lot of eyeshadows for one look, but trust me, it looks neither over or underdone. Doing a full eye look takes patience and practice. If I have no time, I do this whole look with a blender brush, which also creates a more bold look, that is perfect for a night out on the town.

Step 1:
Apply limit all over the eyelid with a shader brush. Blend it all in using a blending brush, and blend it slightly up over the eyelid into the crease.

Step 2:
Apply nooner in the crease in a window wiper motion using a crease brush. Blend it in the crease in a window wiper motion with a blending brush, and let it blend up above the crease a bit.

Step 3:
Apply burnout in a sweeping motion right above the crease with a shader brush. Blend it in with the shadows underneath it with a blending brush.

Step 4:
Apply dust with a sweeping motion above burnout with a shader brush. Let it blend into burnout with a blender brush. The objective of doing this is to create a thoroughly blended, seamless look,up into just below the brow bone, while not blending it so much that it looks like you’re only wearing one eyeshadow.

Step 5:
Apply buzz in a sweeping motion with a shader brush above dust. Blend it into dust with a blender brush.

Step 6:
Apply trick above buzz in a sweeping motion with a shader brush. Blend trick into buzz with a blending brush.

Step 7: If there is fallout, or the look seems too messy, blend lightly over the whole lid, and above the eyelid, to bring the whole look together.

Step 8:

To finish the look, and give it a put together feel, add a coat of mascara on the top and bottom lashes, and fill in your eyebrows with a brow powder, or your brow product of choice. I used the L’oreal Paris telescopic shocking extensions mascara in blackest black, as well as the Ardell brow defining kit.

I hope you enjoyed this tutorial, and if you have any request for future tutorials, please let me know below in the comments.

Thanks you for reading 🙂
Please like, subscribe, share, and comment 🙂

youtube: https://www.youtube.com/channel/UCdgeVvuuQbGgTc4-VuZ8Reg
bloglovin: http://www.bloglovin.com/bronwynharrison
facebook: https://www.facebook.com/beyondbeautyblogger?ref_type=bookmark
instagram: http://instagram.com/bronwynharrison

Any opinions of mine are my own. They are not influenced by any company, advertiser, or affiliate. If I am given a product to review, or am paid for affiliate links, those will be clearly marked.

Cream and Powder: How to Layer

Today, I will be talking about how to layer cream and powder products. A lot of what applies to cream products, also applies to how to handle liquid products. This is a very important part of the makeup application process. It is based in what texture you want your face to look and feel like.

The number one thing you can take from this post is that cream products go on top of powder products. If you do this the other way around, the cream will stick to the powder, and it will look patchy. It may also emphasize dry spots. Applying powder over cream products sets the cream, as well as creating a smooth layer on top of it. It is good to use a mattifying powder, for your oily spots, as this will act as a barrier between the two products. It will also temporarily reduce oil production. For dry spots, using a radiant cream product with an almost creamy feeling powder will cover them up, and create a radiant complexion.

An example for a foundation application routine:

-apply a serum or moisturizer( make sure it is one that doesn’t cake under foundation) first or both depending on your preferences, then apply a primer for smoothing out the face and creating an even canvas for your cream (or liquid) foundation or tinted moisturizer, then apply a foundation powder or finishing powder with a smooth, buttery texture, something without fallout so you know it will blend easily into the face, and finally, if you oily skin or patches, or just like a matte finish, apply a mattifying powder, translucent or pigmented, your choice. Also, if you use concealer, set it with powder, and if you want to highlight under your eyes, use a radiant powder.

This will create a longlasting canvas for your makeup, and will have a gorgeous, smooth texture.

An example for applying blush:

-after you have done your full face, apart from the mattifying powder, apply your cream blush either right on your cheek bones, or on the apples of your cheeks and blended outwards, then apply a powder blush on top of a similar or same shade, to set it, as well as to intensify the blush.Then apply your f mattifying powder on top to set and mattify it if you like

I hope these tips were helpful. Thanks for reading 🙂
Please like, subscribe, share, and comment.

youtube:https://www.youtube.com/channel/UCdgeVvuuQbGgTc4-VuZ8Reg
bloglovin:http://www.bloglovin.com/bronwynharrison
facebook:https://www.facebook.com/beyondbeautyblogger?ref_type=bookmark
instagram:http://instagram.com/bronwynharrison

Any opinions of mine are my own. They are not influenced by any company, advertiser, or affiliate. If I am given a product to review, or am paid for affiliate links, those will be clearly marked.

Coordinated Color Combo Looks

Photo on 2014-07-08 at 7.50 PM Photo on 2014-07-08 at 7.51 PM #2

This is a series I’ve been meaning to start for ages. It will be focused on color coordinated combo looks. Sometimes, I will be using matching products, and sometimes I will be using ones that are variations on the same color. Today’s post will be featuring pastel lilacs.

For today’s look, I used the Maybelline New York colorshow nail polish in lust for lilac on my nails. For my lips, I used Mac’s saint germain lipstick in the amplified creme formula.

Lust for lilac, is just that, a lilac pink, that is of a medium brightness, with some pastel flair. It is a cream based nail polish, that takes about two coats to apply evenly and opaquely. It lasts about five days with a top coat. It comes with .7 ml of product in a clear glass bottle with a black plastic lid. This is a great nail polish for summer, and pastels are in right now, if that matters to you.

Mac saint germain is a gorgeous cream based lipstick, that needs to be layered up a bit to get opaque coverage, and I find that is because it doesn’t agree with dry lips.It has Mac’s signature vanilla cake scent. It is a pastel pink with a hint of lilac. It is a bit glossy, but creamy more than anything in finish. it is highly pigmented, and definitely a statement lipstick.

If you are into pastels, this look is for you! It’s fun and bold, and a little bit different. This nail polish and lipstick combo is uniform in texture and related in pigment. It is perfect for a quirky tea party or a day at the beach. I highly recommend this combo. I love this combo, as I’m a huge lilac, lavender and pastel lover. I’ve just been super into thosw colors lately, makeup wise.

Mac saint germain costs $19 at Mac stores, and Maybelline lust for lilac ranges in cost from $4 to $10.

I hope this post was enjoyable for you, and that you let me know your fave nail polish
and lipstick combos in the comments.

Please like, subscribe, share, and comment 🙂

youtube: https://www.youtube.com/channel/UCdgeVvuuQbGgTc4-VuZ8Reg

bloglovin:http://www.bloglovin.com/bronwynharrison

facebook:https://www.facebook.com/beyondbeautyblogger?ref_type=bookmark

instagram: http://instagram.com/bronwynharrison

Any opinions of mine are my own. They are not influenced by any company, advertiser, or affiliate. If I am given a product to review, or am paid for affiliate links, those will be clearly marked.

Maybelline Color Tattoo Cream Eyeshadows

Photo on 2014-07-07 at 8.50 PM #4 Photo on 2014-07-07 at 8.50 PM #3Photo on 2014-07-07 at 8.50 PM

Today, I will be doing a review on the Maybelline Color Tattoo cream eyeshadows. These are my fave cream eyeshadows and are very affordable, especially on sale. I will be reviewing the two I own today, and will be hopefully be picking up some more in the future.

I previously talked about the maybelline color tattoo in barely branded in my highlighters post, which I will link down below. It is a gorgeous, champagne colour with a sheen to it. It glides on fairly smooth, thought it does need some blending. It is limited edition, but it is repromoted with many limited edition collections.  It works great as a eye base for eyeshadows, as a standalone cream eyeshadow, as a highlight, and layered with sheer eyeshadows. The maybellinea eye base for eyeshadows, as a color tattoos are said to be a dupe for the mac paint pots, which I am yet to try.

The other maybelline color tattoo is in the colour edgy emerald. I’m pretty sure this one is part of the permanent collecton. It is a vibrant turquoise aqua shade, with a sheen to it. Like barely branded, it glides on smooth but needs some blending. It can be used as a eye base for eyeshadows, as a standalone cream eyeshadow, as an eyeliner,  and layered with sheer eyeshadows. One other thing about these, is they are aptly named color tattoos, as these things stay on all day. They need a good makeup removal to completely get them off.

I recommend these to everyone, from beginner to experienced, as these cream eyeshadows are extremely versatile, and affordably priced. They generally cost $2 to $10, so wait for a sale. I hope this was helpful.

highlighters post: https://beyondbeautyblogger.wordpress.com/2014/06/26/my-highlighter-collection-cream-powder-and-liquid/

Thanks for reading, and please like, subscribe, comment, and share 🙂

bloglovin: http://www.bloglovin.com/bronwynharrison

youtube: https://www.youtube.com/channel/UCdgeVvuuQbGgTc4-VuZ8Reg

facebook: https://www.facebook.com/beyondbeautyblogger?ref_type=bookmark

instagram: http://instagram.com/bronwynharrison

My 5 Non Beauty Faves

Photo on 2014-06-30 at 4.38 PM

This will be a list of my  5 non beauty faves, and short descriptions of what I like about them. I hope you enjoy, and maybe let me know some of your non beauty faves in the comments 🙂

This will be a list of my non beauty faves, and short descriptions of what I like about them. I hope you enjoy, and maybe let me know some of your non beauty faves in the comments 🙂

1. ihome stereo speaker system: This is a small, purple speaker that I plug into my computer. It helps with the sound quality of whatever I’m watching, whether that be a youtube video or netflix. I find that some shows have very low volumes, so this helps counteract that. This was a gift from my aunt, quite a while back. I rediscovered it a while back, as when I first got it, I honestly had no idea how to use it.

2.  big mugs for coffee and tea: There has been a steady stream of large mugs coming into the kitchen lately. I love them because they feel nice to hold, are very nice to relax with, and just hold a lot of liquid. A couple I like are purple and green one with the letter B on it, which acts as a monogram for my name. Also, doesn’t that make you think of the letter of the day on both sesame street and between the lions, two shows from my childhood. Though I still watch them occasionally, because nostalgia is a thing. The other one I really like is a local radio station’s mug that I won when I was at a holiday parade one year.

3. everything floral: I love floral patterned dresses and flora lpatterned headbands. They are perfect for the summer. They look so cute, and go with many looks. I’ve definitely been a floral femme lately. I’ve been on the lookout for a cute sunflower sun dress, but am yet to find one.

4. a blue velvet chair: This little chair is adorable, and I usually sit on it for when I do my youtube videos. It is a curly metal back, and a blue velvet seat. It feels very glamorous.

5. A green plant pot which I got from the remains of a garage sale: This one is sort of cheating as I plan to use it for holding my makeup brushes. However, in  itself, it isn’t a beauty related item, though I do love sunflowers and daisies.

And there you have it. My 5 non beauty faves. I hope you enjoyed this. Please like and subscribe.

youtube channel: https://www.youtube.com/channel/UCdgeVvuuQbGgTc4-VuZ8Reg

facebook page: https://www.facebook.com/beyondbeautyblogger?ref_type=bookmark

bloglovin: http://www.bloglovin.com/bronwynharrison

instagram: http://instagram.com/bronwynharrison

Any opinions of mine are my own. They are not influenced by any company, advertiser, or affiliate. If I am given a product to review, or am paid for affiliate links, those will be clearly marked.